How to use dragonfly rotary tattoo machine
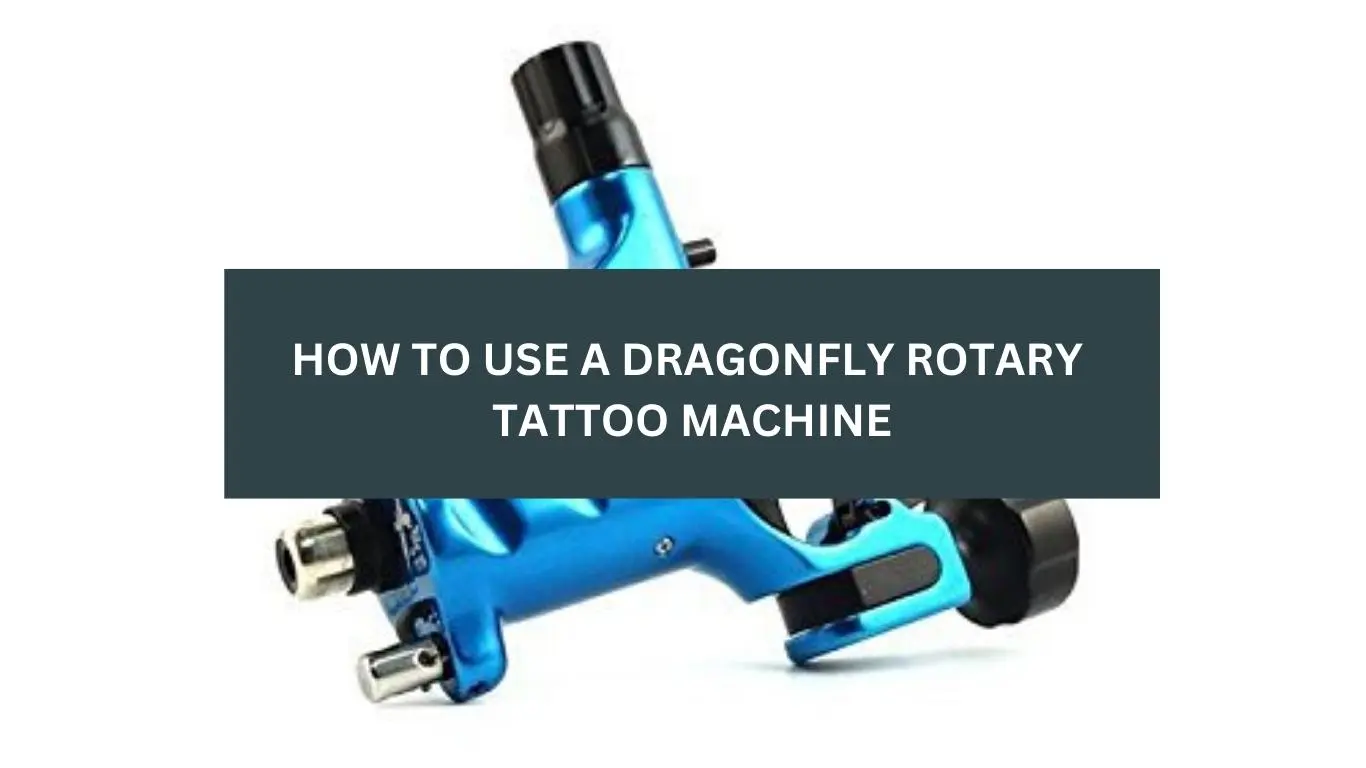
Dragonfly rotary tattoo machine is one of the best evolution in modern tattoo machines. The X2 model of the dragonfly rotary tattoo machine is a great experience for building high-quality tattoo machines over the years and this model has led to several improvements over other models. This model is manufactured with the highest quality materials, metal, and other components. All the materials and components in the making process of this dragonfly rotary tattoo machine are high quality and durable for a long time of use How to use dragonfly rotary tattoo machine
Dragonfly rotary tattoo machine

The dragonfly rotary tattoo machine is manufactured by highly professional engineers and with the help of the most experienced tattoo artists. Moreover, this rotary tattoo machine is checked by and tested by professional engineers and the most experienced tattoo artist. These tattoo artists working in the tattoo industry for many years. After detailed testing, engineers and tattoo artists are very satisfied with the reliability and satisfactory performance of the Dragonfly rotary tattoo machine. This machine is very durable for tattoo artists. So it is tested by the professionals that the performance of this dragonfly rotary tattoo machine is very satisfactory for years to come.
You will get back your investment in the form of your customer satisfaction because this machine will enable you to perform better and high-quality design which will improve your business. To ensure safety and obtain other information about this machine you need to read all the details which I write in this post. After reading the all details of this machine you will learn how to use dragonfly rotary tattoo machines for perfect tattoo designs.
Main features
These main features will also help you with how to use dragonfly rotary tattoo machines because of this unique feature of this machine. Dragonfly rotary tattoo machine is very popular these days because of its modern technology and ease of use. This machine is popular among professional tattoo artists and also for beginners because beginners can use this machine very quickly. It is very simple and durable for a long time.
Easy to use
All tattooists can use this machine very easily because of its lightweight and high speed. The weight of this machine is very light you can easily use this machine for a tattoo design. If the machine is heavy then your hand will be tired for a long time design but in a lightweight machine, your hand can’t be tired or feel fatigued. Moreover, you can design very accurately from this lightweight machine because of its tight grip.
Small size & lightweight
The size of this machine is not large, it is a very small size machine. You can easily pick and can do your work very comfortably. It has no noise of sound buzzing as compared to the other machines. We know that coil tattoo machines are heavy and have the noise of sound buzzing but in the case of the dragonfly rotary tattoo machines, there is no noise of sound during work. This tattoo machine will be not heated if you work for a long time. Moreover, there is no vibration in this machine during work. So, this is also the main feature of this machine that there is no sound, no vibration, and no heavy weight. It is very simple easy and comfortable to use.
Lining and Shading
Dragonfly rotary tattoo machine is also popular because of its dual work, which means you can also line and shade with this machine. This is a very good machine for both lining and shading for the design. This rotary tattoo machine have also excellent stability because of this stability your design will be accurate, clear, and perfect. When you grip this machine in your hand you will feel very relaxed and comfortable.
Standard Needles and Tube
With standard needles, tubes, and grips your design will be perfect. The needles in these machines are small and fast. The power supply button is also available in this machine for on or off. You can on or off the machine with the help of a button that is adjusted in the machine. With quality needles, this machine is very professional for both experienced and beginner tattoo artists.
Voltage
Tattoo machines normally work in 6-9 volts but you can adjust the volts of this machine according to your requirement because this option is also available in this rotary tattoo machine. But from experts, it is recommended that you should use more than 1.5A supply during the work.
Dragonfly rotary tattoo machine characteristics
For understanding how to use dragonfly rotary tattoo machines you also need to know about some characteristics of this machine.
- The material which is used in this machine is Aluminium alloy
- A very fast motor machine is used in this machine
- Gun type, which is very popular in this machine is liner and shader rotary tattoo machine
- The power type of this machine is electric working voltage. The voltage 7-9V and suspension travel is 0-2mm tube diameter: 88mm max
- The speed of the dragonfly rotary tattoo machine is around 20000 – 25000 rounds in one minute. The range of speed is 0-8000 Round/M, 0-130 round/S. The input violated of the machine is DC 0-14 V (DC 14V Max.
Getting started | How to use the dragonfly rotary tattoo machine
For creating the best design you need to read the following steps in which you will learn how to use the dragonfly rotary tattoo machine. Read the following steps that how to get started.
- The first step in understanding how to use dragonfly rotary tattoo machines you need to f disconnect the machine from the power supply.
- Attach a new high-quality rubber nipple to the needle. The rubber to which you attach the middle should be a tight fit with a needle bar pin.
- After this open the retainer and clear the needle bar and tube by adjusting the retainer screw.
- Now bend the needle bar to arc shape or bend the needle just at soldering to compensate for the pressure. Because of this the needle will work straighter and make the machine more stable at the tip.
- After that insert the needle into the tube very carefully and care for the needle tip to avoid damage.
- Insert the needle through the tube vice and tight this vice lightly. After tightening the vice attach the needle bar loop to the nipple.
- Move the needle bar pin and attached this needle bar pin down to the bottom by pressing the needle bar pin downwards, if this needle bar is not moving down then push the eccentric to the side at the same time.
- Adjust the alignment of the needle and tip by moving the grip. Set the tube to the desired location. Then tighten the tube vice firmly when this process is done.
- Turn the retainer screw and adjust the needle bar until the needle bar contacts the retainer o-rings. Don’t be so tight more than needed, you need to just tight to keep the needle stable in the tip. If you see that the needle bar still does not align properly with the retainer o-rings then adjust the needle bar until it aligns to the right position.
- Connect your machine to a power supply of a maximum of 13 volts of DC either with an RCA ab cable to the RCA contact. If you choose clip cord to connect +ve to -ve to marked on the machine next to the posts which are bound. The motor which is adjusted in the machine should turn clockwise when looking at the front.
- Now run the machine between 8.5 to 10 volts these volts should be set according to the needle size and friction. Fine, adjust the needle bar correctly as the machine feels stable at the tip, and make sure that everything is correct and smooth. Moreover, you need to also make sure that there is no excessive friction or noise during the machine’s work.
- Start the machine and adjust the needle after that the needle suspension which you adjust by feeling the needle bar pin and the nipple with your finger and after turning the cap you get the desired hit, which means if you set this clockwise you will get harder counter if you set this anti-clockwise then you will get softer. The needle bar pin will lock the piston if you turned the cap clockwise. This position clockwise will give the hard-hitting. On the other side if you adjust the cap counterclockwise then the stroke will be softer. This will produce noise after the adjustment of the screw which will contact the cap from inside it happen when the limit is reached to 3.5 turns from the bottom. Now you need to turn the cap clockwise until the noise stop and the screw adjustment clears the cap.
- Surround the machine and cord with the help of plastic bags and cover for all the equipment of tattoo.
- For shading or filling the starting values of the volts would be around 8 to 10 volts. For lining purposes, the volts value will be 8.5-10.5. The adjustment of value is normally set soft for shading but for filling and lining it will be medium to hard. The values I mentioned above are just starting values for this process. You can adjust values according to your need or it also depends on your technique of work or equipment.
After reading the above detail about the dragonfly rotary tattoo machines, I hope you understand how to use dragonfly rotary tattoo machines in a very simple way.