How to tune a rotary tattoo machine
Tattoo machines are available in different types. The most common and basic type of tattoo machine is the coil machine which is easy to operate. Along with easy operations, coil tattoo machines offer smooth lining. But coil machines can’t do shading and lining at the same time.
Nowadays, rotary tattoo machines are famous, and tattoo artists prefer working with rotary machines. Rotary tattoo devices offer many advantages, providing perfect shading and lining together. Besides that, rotary tattoo machines offer different features and advantages. But it’s essential to tune it properly before using it.
Do you know how to tune a rotary tattoo machine? It won’t be easy for you if you don’t know the process, even if you are an expert artist. You can easily tune the machine if you learn how to tune a rotary tattoo machine, and in this article, we will describe the process of turning the rotary device.
How to tune a rotary tattoo machine?
Tuning a rotary tattoo machine becomes easy when you know how to do it. We here explain how you can tune your machine and maintain it. But before that, you should get familiar with the machine’s essential parts and know why you should tune it.
Reason to tune a rotary tattoo machine
There are multiple reasons and advantages to tuning a rotary tattoo machine.
- It will allow operate the machine smoothly without any issues.
- You can create smooth outlines for tattoos.
- It also helps to prevent unwanted curves and swerves.
- Tuning will help to identify which parts of the machine should be replaced.
- Lastly, tuning the device is essential if you want to create an excellent tattoo for your clients.
Tattoo machine key parts identification
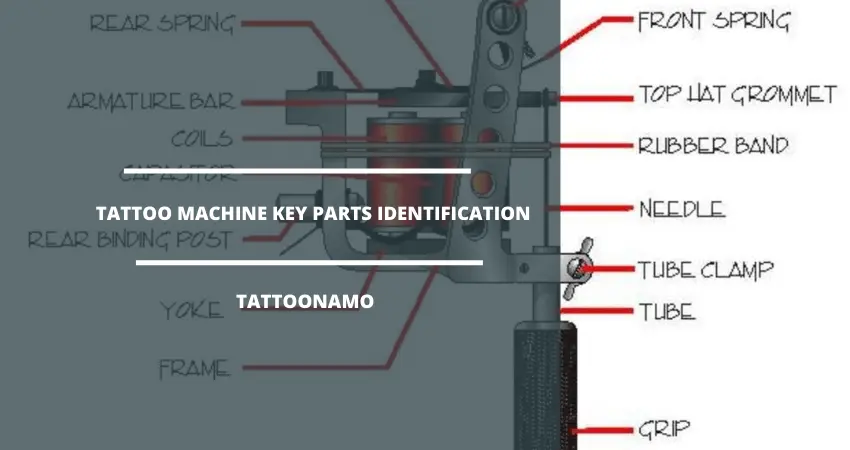
Each tattoo machine has many vital parts that allow the machine to perform well. But you must keep it maintained regardless of what type of machine it is. You must understand all parts of the machine to tune it properly.
Front and back springs
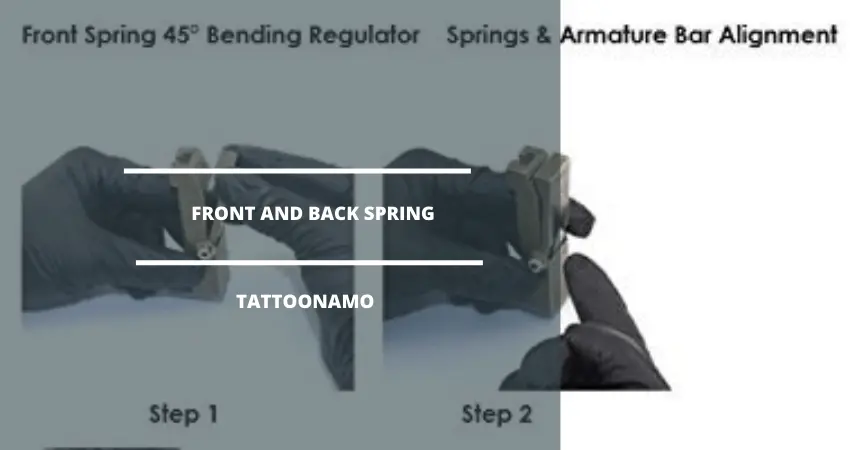
The function of front and back springs is to convert the coils into an electromagnet. These springs also act as shock absorbers for the armature bar. The size of the springs differs according to the model of the machine. The electromagnetic movement is created when the back springs add tension to the front springs, which results in the movement of needles and balances it to keep a consistent and safe stroke.
Machine coils
Coils along with capacitors are the pathways to power the tattoo machine. The speed and strength of the machine needles depend on the quality of the coils. If more wires are wrapped around coils, the machine will perform slowly, but it will have more power. If a few wires are wrapped around coils, the machine will perform faster but will have less energy.
Contact screw
The function of the contact screw is to allow the electromagnetic current to run through the device’s front springs and the entire machine. Continuous use allows consistent performance, but it also depends on the quality of the machine. If you maintain the contact screws tight, you can increase the speed of the tattoo machine.
Armature bar
The armature bar also controls the speed of your device. If the armature bar is light, the machine will perform fast but with less power. Large armature bars provide more power and force but with decreased speed. It will increase the performance of your machine if you correctly align the armature bars.
Steps for tuning a rotary tattoo machine
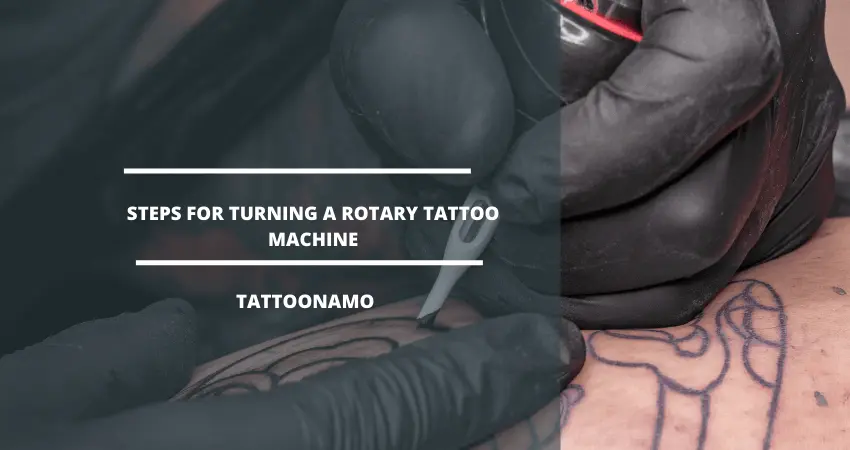
Now that you know the reason for tuning a rotary tattoo machine, you also know about the parts of the machine. It’s time to know how to tune a rotary tattoo machine. Consider following the steps below to adjust your device.
Identify the Gap
Identifying the gaps between the front spring and contact screw is necessary before reconfiguring the machine. Press the armature bar to reveal the gap and fill the area. For lining, the gap width should fit a dime, and for shading, the width of the gap should fit a nickel. For proper working, the gap width should be adjusted, and if the gap is over the coin width, it won’t work.
Adjust the Contact Screw
After identifying the gap width between the front spring and the contact screw, loosen the thumb screw of the tattoo machine to adjust the contact screw. If you are switching from liner to shader and from shader to liner, screw the contact screw to the required width before tightening the thumbscrew.
Attach the Coils
Correctly attach the screw coils to the machine for its performance and productivity. Also, ensure the current is stable when the machine is working. The coils should be screwed enough so that they can fit inside the armature bar.
Powering the Machine
Usually, for lining, a tattoo machine should use 7.5 to 8.5 volts, and for shading, it should use 8 to 10 volts. These are the recommended settings for tattoo artists for safe and appropriate work.
We hope that you have learned how to tune a rotary tattoo machine and by following the above step you can easily tune your device for excellent tattooing.
FAQs
Conclusion
Tuning a rotary tattoo machine is very important, but it’s also essential to know the reason for tuning a machine. In this article, we have not only given information on how to tune a rotary tattoo machine but also discussed different parts of a tattoo machine and the reason for tuning a tattoo device.
We hope you have liked our article on how to tune a rotary tattoo machine.

