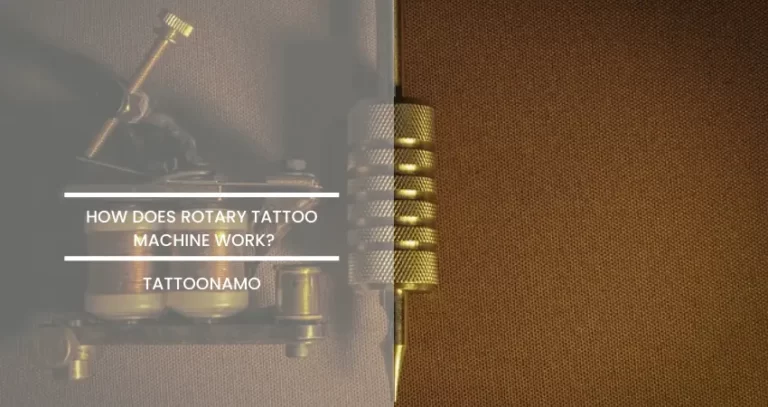
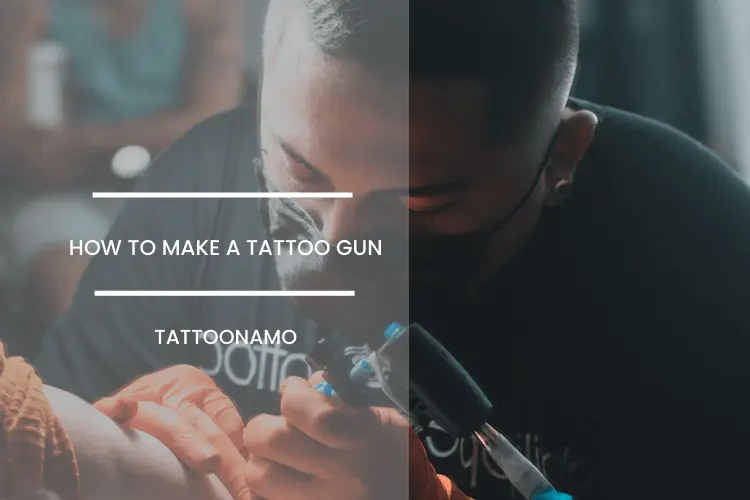
How to make a tattoo gun
Tattooing is a great skill, and it’s the best form of art to express your feelings. The tattooing industry is also growing quickly because the demand for tattoos is also increasing. In the United States, people of all ages are interested in tattoos, which is why it’s a booming industry in the USA.
Tattoos are creative forms of self-expression, and what would be more creative to make a tattoo gun at home? But how to make a tattoo gun? This article will describe how to make a homemade tattoo machine.
But remember that tattooing on human skin with a homemade tattoo gun is very dangerous; that’s why only use this homemade gun to practice on fruits or synthetic skins.
How to make a tattoo gun?

Making a tattoo gun at home isn’t that difficult. You will need a few items, and you are good to go. The guide below will explain how to make a tattoo gun and practice tattooing at home (only on fruits and synthetic skin).
Making the Components
The first step of how to make a tattoo gun is to find and make the components for the tattoo machine.
Find a motor: You’ll need an electric or rotary motor that can run on 12 or 18 volts.
The motor will have a small shaft that protrudes from the center. Then take a small button with four holes and attach it to the shaft with the help of glue. Remember not to use too much glue that blocks the holes of the button. The holes of the button should be open to attach the needles. Set it aside to dry it.
You can also use an eraser instead of a button. Take an eraser from a mechanical pencil and place it onto the small shaft of the motor.
You can also take a motor from a remote control car, but its power will be low at about 3.5 volts.
Create the tube: The function of the tune is to guide the needles. You can easily make it with a pen or pencil.
Use a mechanical pencil, either metal or plastic; it’s your choice. You can leave the pencil as it is or cut it into about 3 inches to 4 inches in length.
Instead of a pencil, you can use a pen and remove the ink cylinder. If you need a short tube, cut the pen to about 3 inches or 4 inches in length. File down the brass tip of the pen to get the ball out and make the hole big enough to allow passage of the needle.
Design a brace: The function of the brace is to support the tube when it’s attached to the machine motor for the tattoo machine.
Take a spoon (teaspoon) and break off the bowl. Then bend the spoon back to create an “L”-shape.
Make a needle: For making the needle, cut a metal guitar string an inch or longer than the length of the tube. It should reach from the center of the motor to the tip of the tube after assembly. Put soap and water into a pot and bring it to a boil. Drop the needle into the pot and boil it for five minutes. Rinse it in clear water and then boil it again in water only. Using the same method, you can prepare several needles in advance. And after that, store those needles in a sterilized jar.
Assembling the Gun
The second step of how to make a tattoo gun guide is assembling the gun after making its components.
Attach the tube to the brace The first step of assembling a gun is to attach the tube to the brace. Remove the lead from the mechanical pencil. Grip the short end of the spoon. Now brace in your hand the way you’d hold a gun and attach the pencil to it. The open end of the pencil should line up with the bent end of the spoon, and the shaft of the pencil should lay on the straight plane of the brace. The point of the pencil will extend off the edge of the brace.
Attach the motor to the brace: Attach the motor to the short end of the brace. Make sure it’s straight, and the button is in the center along the shaft of the brace.
Insert the needle: Place one end of the guitar string through the tip of the pencil and thread it through the tube. When it comes out the other end, pick up the pliers and bend the end of the guitar string at a 90-degree angle. Then bend the tip of the string again to create a second 90-degree angle. The hook is created at the end of the needle. Cut off any extra wire from the hook.
Attach the needle to the motor: Take the hook you created and set it into one of the holes in the button. When you spin the button, you should see the needle going in and out of the end of your pencil tube.
Connect the power source: Now it’s time to connect the power to the gun. You can use any plug-in adapter from a CD player, and you can also use a phone charger or other power source that’s made up of two wires. Divide the wires apart and attach them to the contacts of the motor.
Discard single-use items: Now that you have learned how to make a tattoo gun, your tattoo gun is ready for operation. It’s essential that once you’ve finished making a tattoo, throw away the needle and the tube. Do not reuse these items under any circumstances. They can spread diseases such as HIV and hepatitis. You should throw them away after one use, even if you plan to use the materials only on yourself because it’s not worth the risk.
FAQs
Conclusion
Tattooing is a fun activity, and so is making a tattoo gun. The best thing is that you can make a tattoo gun at home. But the question is how to make a tattoo gun.
It’s simple, and you can follow the above steps for making a tattoo gun at home. It’s easy and fun as well. After reading the article, you know how to make a tattoo gun; you can refer this article to those who want to make a gun at home and start practicing tattooing.