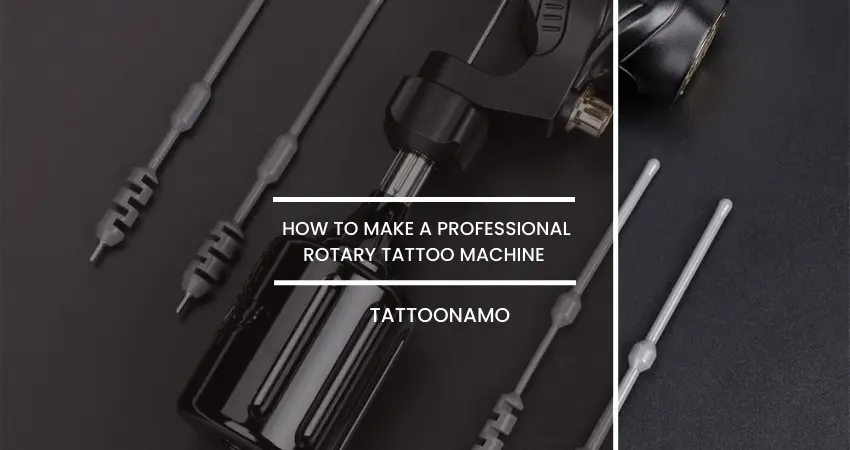
How to make a professional rotary tattoo machine
Tattoo making is an ancient art, but it also has become a fashion for people of any age, social class, and gender. Since the popularity of tattoos has increased, tattoo shops have also increased dramatically. Now the schools also teach tattoo making, which is another proof of its popularity.
As tattoo-making is a big industry now, many people are opting for this profession and obtaining professional certifications that allow them to kick start their careers as tattoo artists.
Usually, a variety of thin needles are used in tattoo making. These needles inject the coloring stuff into the skin. Besides this traditional method of tattoo making, there is an alternative method that how to make a professional rotary tattoo machine. But do you know that a rotary tattoo machine can also be made by hand?
If you don’t know, then you are at the right place as we will explain step-by-step how to make a professional rotary tattoo machine.
How to make a professional rotary tattoo machine
Rotary tattoo machines are different from traditional tattoo guns, and their performance is better than conventional machines. That’s why rotary tattoo machines are gaining popularity, and professional tattoo artists also use rotary tattoo guns.
But before we proceed to know how to build a tattoo machine from scratch, let’s get to know what items and supplies we will need for that.
Supplies required
The items that are needed for the process of “how to make a professional rotary tattoo machine” are
- Bic pen
- Sewing needle
- Wire
- Electric cable
- Wooden batten
- Small button
- 2-hole button
- Scooter (like the mini 4wd)
- 2 Cotton buds
- 10mm barrel piercing
- 230V-2.4V power supply with respective power supply connection
- Foam
- Insulating tape and clamps
- Malleable metal rod 6 cm long
- Tin welder
- Drill with a small tip
- Superglue
Steps to make a professional rotary tattoo machine
Below is a step-by-step guide for making a professional rotary tattoo machine by hand. This guide will provide in-depth knowledge of how to make a professional rotary tattoo machine.
Step 1: For making a professional rotary tattoo machine at home, you will need a BIC pen. Take away the soul of the pen and keep the plastic frame only. After that, take a wooden strip and cut it to a length equal to ¾ of the pen. Then drill a hole of about two centimeters at the bottom of the strip. The hole should be 1/3 of the width of the strip.
Step 2: After completing step 1, take a bar in a malleable metal and fold it in half so that it forms a shape of L. Then block all the elements with the help of insulation tape and secure everything with plastic straps. Now that the structure of the rotary tattoo machine is complete, it’s time to move to the mechanical part of the gun.
Step 3: Take a motor and fit the button on the motor shaft in one of the holes, while in the second hole, insert the piercing to build a small pulley. For better coverage, pour a drop of glue into the pits.
Step 4: Now, turn the wire around the piercing to make it secure and functional. It is recommended to lock a stick to the wire with the help of glue. At the same time, fix the needles by interlocking them so that you can easily change the needles for each tattoo to avoid infections. Place the motor on the metal bar with L.
Step 5: Take a cotton swab and fix the feeder attachment at the end with the glue. Once it is dried, set it on the motor with the help of glue.
Step 6: The final step is to add a small button to the hole that was made on the wooden strip. Fix the button with the help of a nut and washer. Now, connect everything with an electrically soldered tin cable and fix the cable with clamps so that it does not obstruct or get stuck somewhere while working. So, that’s all about how to make a professional rotary tattoo machine. you can easily make a professional rotary tattoo machine at home by following the above-mentioned steps.
FAQs
Conclusion
A rotary tattoo machine is a machine that utilizes a rotary motion to drive the needles. Rotary tattoo machines became popular in the early 1990s and are used by many professional tattoo artists. The rotary tattoo machine is an essential investment for any professional tattoo artist and is made for long-term use when properly cared for.
When it comes to rotary tattoo machines, many factors go into making a professional tattoo machine, and the good news is that you can make a professional rotary tattoo machine at home. This article has covered each factor and provided tips on making your own professional rotary tattoo machine.
Making a professional rotary tattoo machine can be an excellent tool for gaining industry experience or even a hobby. We have covered everything in the article if you are looking to build your own rotary tattoo machine but don’t know where to start. Check out the steps explained above on how to make a professional rotary tattoo machine.
We have tried simplifying the instructions so they are easy to follow. We hope you find them useful and that they help you to make your own professional rotary tattoo machine. And we also hope you enjoyed this post on how to make a professional rotary tattoo machine. If you have any queries, please feel free to ask. We’d love to hear from you.